Reports
A Report is a table of rows and columns that displays and summarizes various types of data extracted from the file you are working with. All reports can be printed or exported to various formats, the most common being PDF and CSV files.
Contents
How to switch to the Reports module?
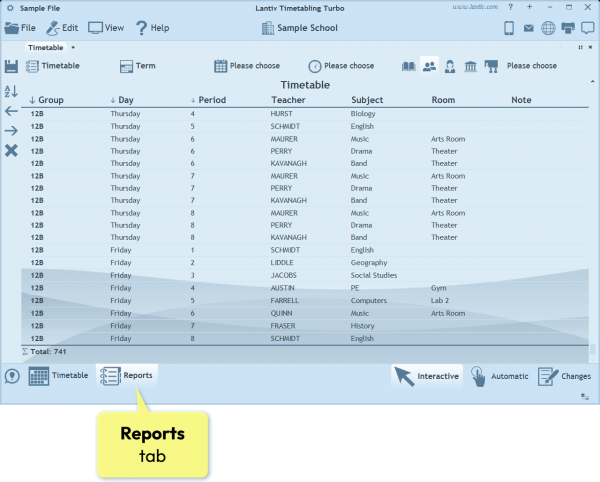
The Reports module can be accessed by clicking the Reports tab in the bottom-left corner of the workspace.
Just like the Timetable module, the Reports module has a navigation pane at the top. In this pane, you can select the type of report to display, the days and periods to include, the type of resources for which the report should be generated, and, if necessary, the specific resources to include.
Report Types
The selector in the upper-left corner of the navigation pane is used to choose the report type. Let's review each type and see what information it displays.
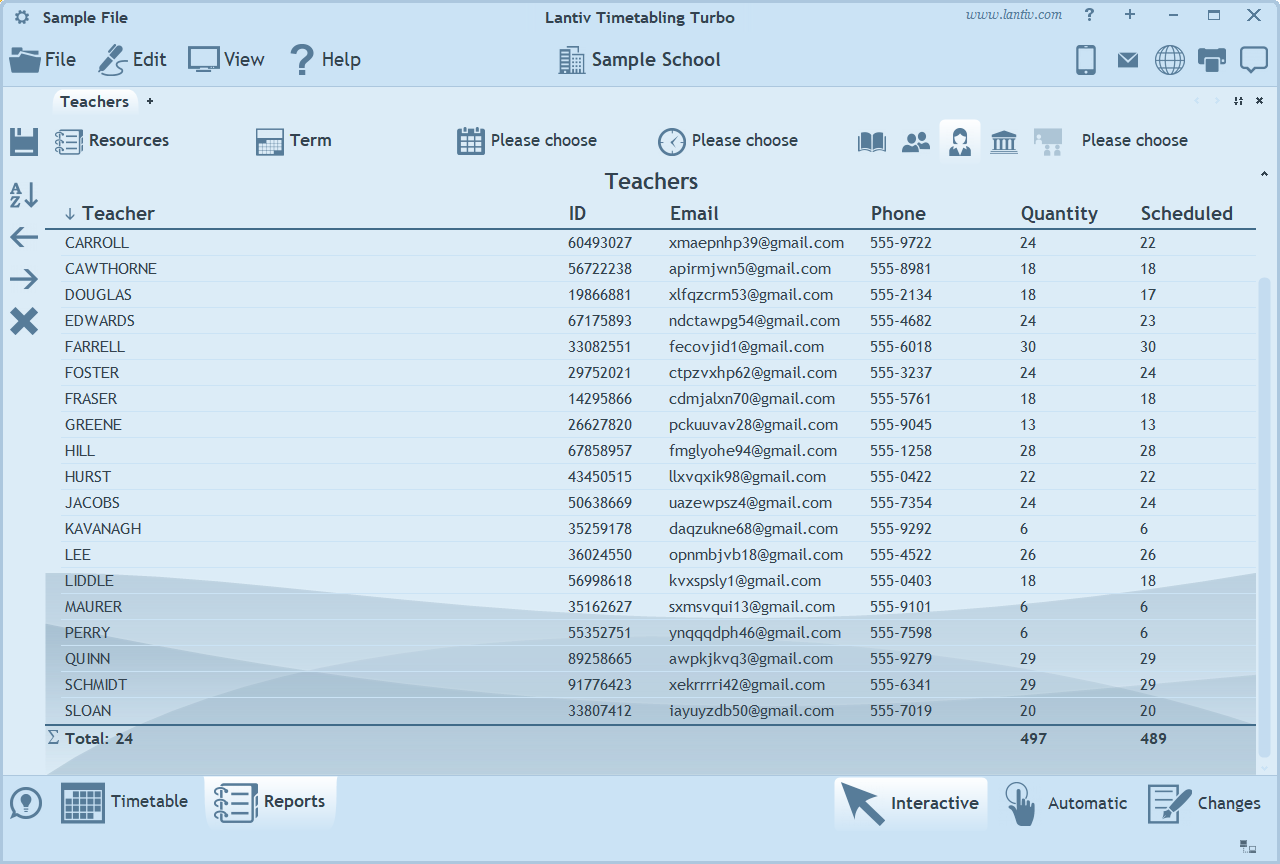
Resources
This report displays a list of resources, similar to the one shown in the Resources pane. You can choose which resource properties are displayed. For example, you can use this report to generate a list of students along with their addresses, email addresses, and other information.
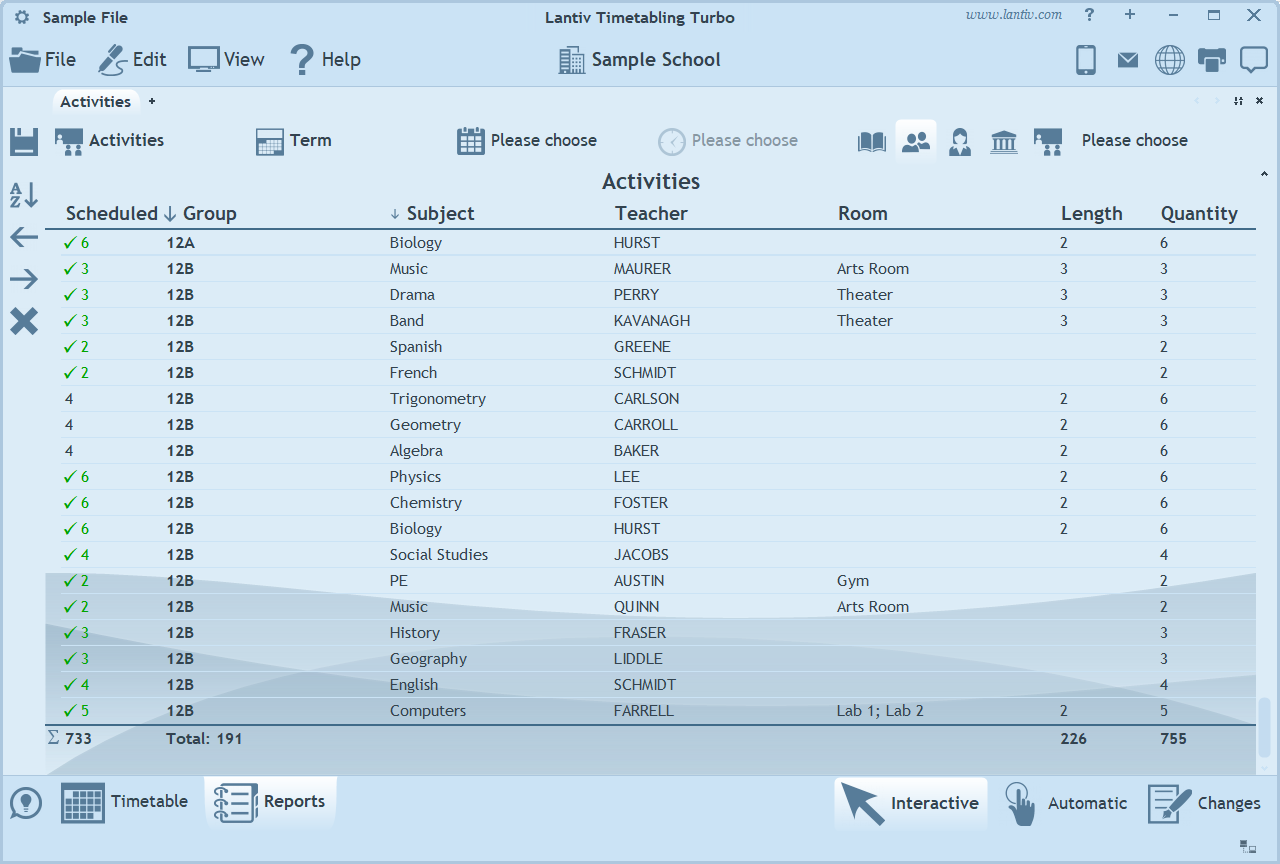
Activities
This report lists activities in the same way they are displayed in the Activities pane. Each row represents a single activity, while the columns show the different types of resources participating in that activity.
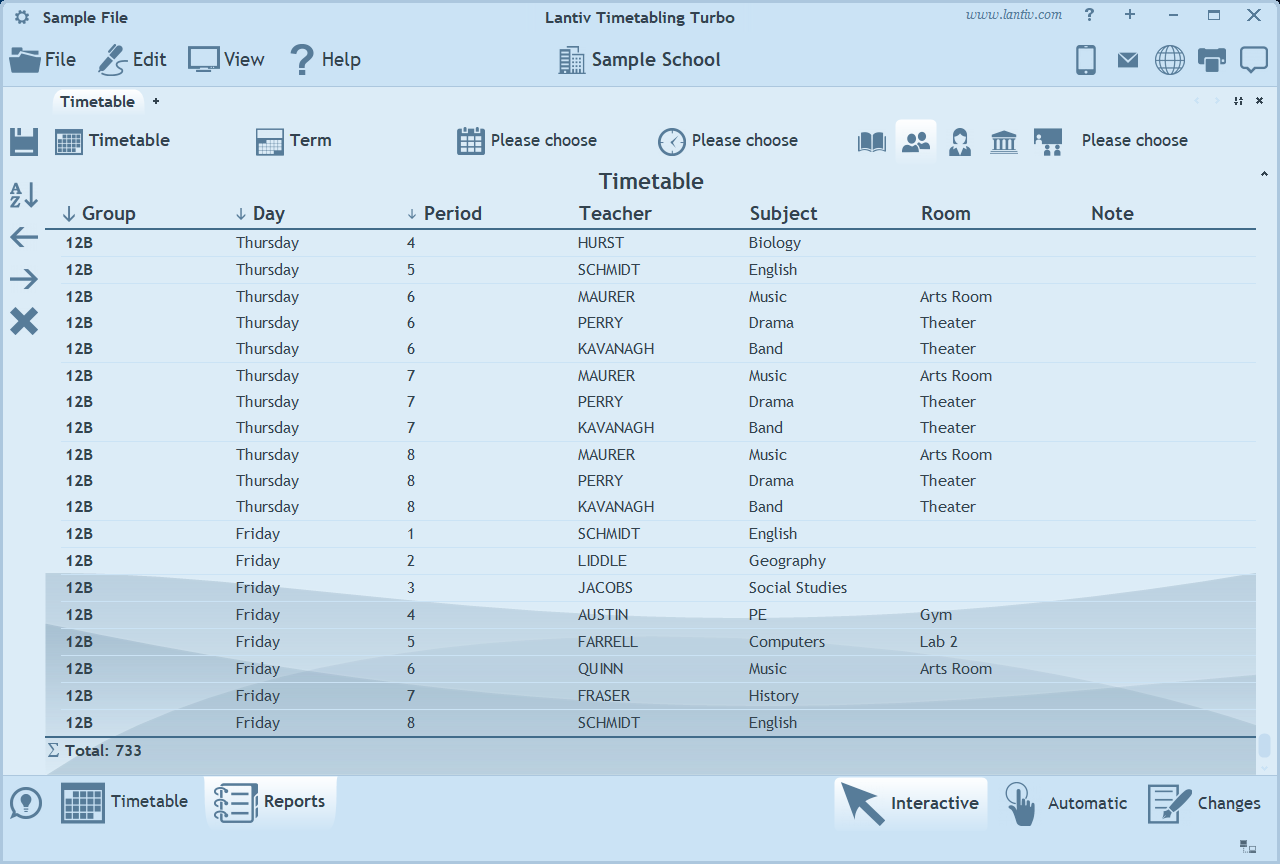
Timetable
The Timetable report is probably the most important report, as it lists all scheduled occurrences of activities. Each row in the report corresponds to a single timetable cell. The report columns include all resource types, as well as Day, Period, and Note.
The navigation pane above the report can be used to limit the report to specific days, time ranges, periods, and resources.
Changes
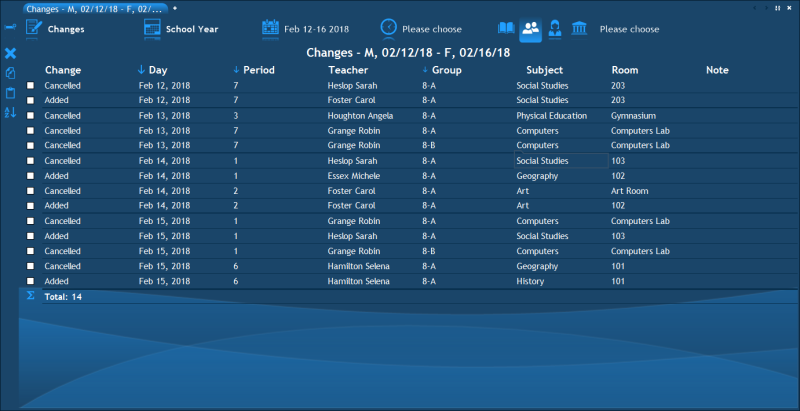
The Changes report displays information similar to that shown in the Changes pane. It lists canceled, added, and modified timetable cells, together with all affected resources, sorted by day and time.
The navigation pane can be used to specify which days, times, periods, and resources should be included in the generated report.
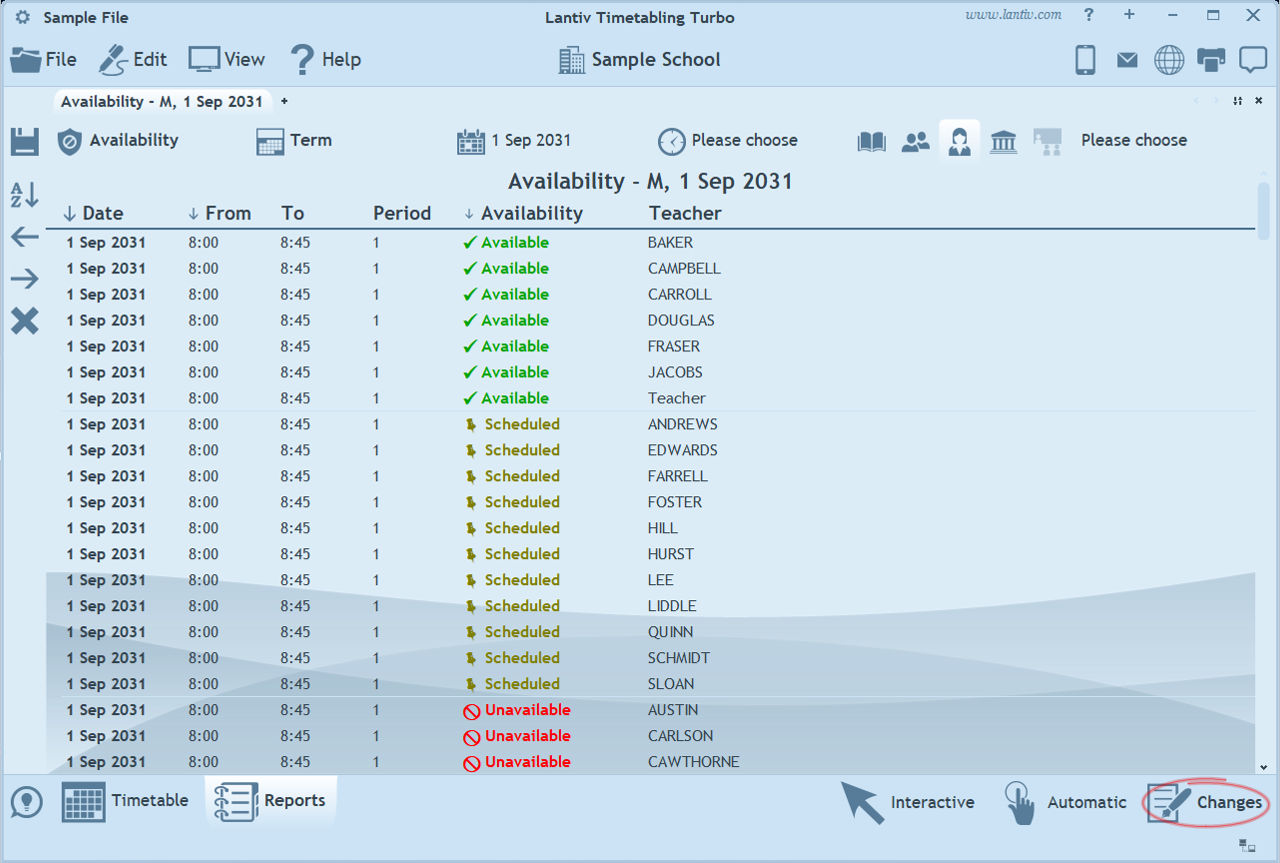
Availability
This report lists all resources of a selected type together with their availability status. For each resource, it indicates whether it is available (free), scheduled (booked), or unavailable (blocked).
The days and periods to be included in the report can be selected in the navigation pane.
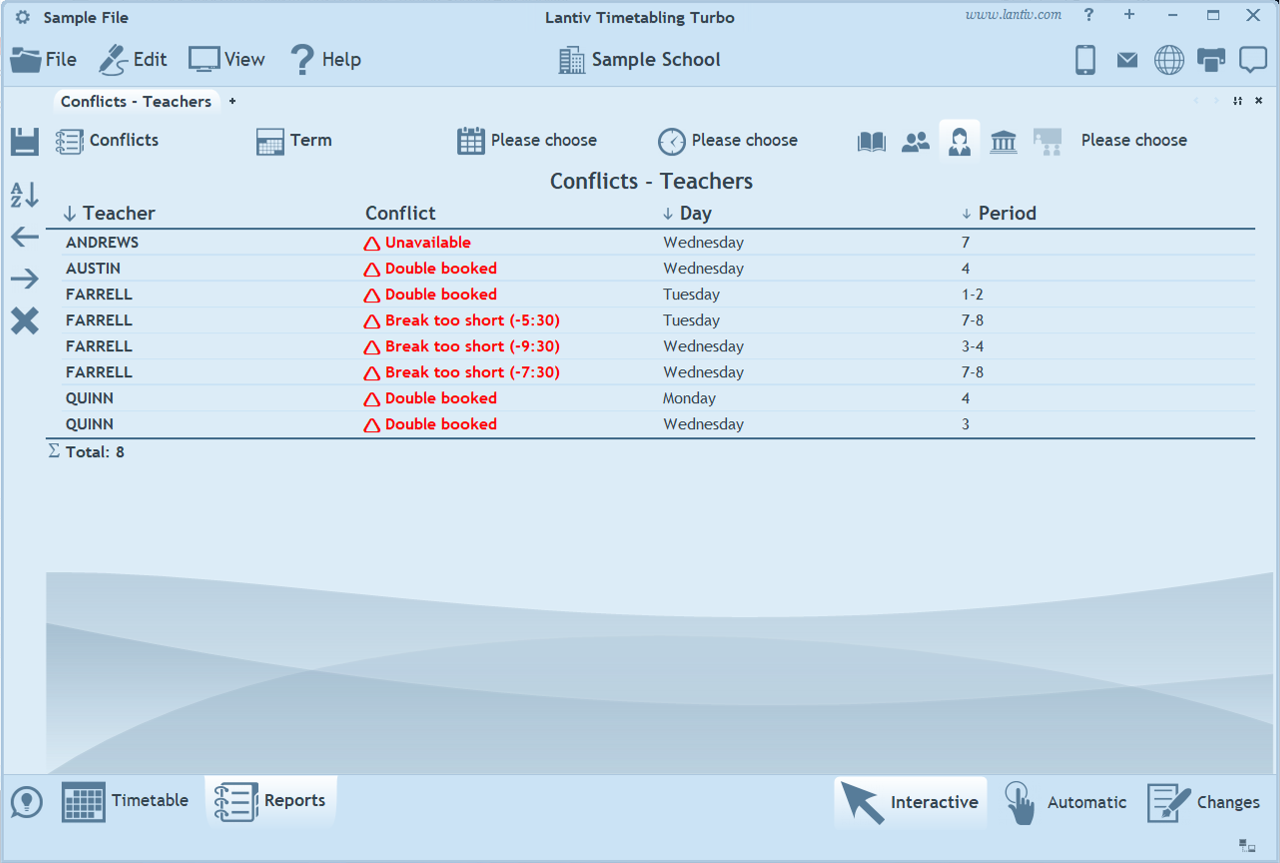
Conflicts
This report displays all existing timetable conflicts, similarly to the Conflicts pane. Each row represents a single conflict. The Conflict column shows the conflict type, the Day and Time columns indicate when the conflict occurs, and the relevant resource column contains the name of the resource whose timetable contains the conflict.
Report Layout
A report's columns and layout can be customized by selecting View → Settings from the main menu while in the Reports module.
Each report type has its own set of columns and layout settings. Therefore, any changes made while viewing one report type will not affect the settings of other report types.
The Settings window lists all available types of data that can be displayed in the report. Most of these are different types of resources, but some are informational columns, such as the number of periods (Quantity), the Start Time of a scheduled activity, and others. Custom properties defined in the Institution pane are also available for selection.
The available data types vary depending on the report. The selections made in this window determine which columns are displayed in the report, as well as their order, sorting, and formatting.
For a column to appear in a report, you must select the check box located to the left of the column name.
If you expand a column item (by clicking the plus button next to the check box), a set of settings will be displayed that control the appearance of that column in the report. The following settings are available:
- Title – The title displayed at the top of the column in the report. If this field is left blank, the property's name is used as the column title. To use a different title, enter the desired text in this field.
- Column Width – The width of the column, specified either in pixels or as a percentage. If the value ends with a percentage sign (for example, 10%), it is interpreted as a percentage of the report width; otherwise, it is interpreted as a width in pixels.
- Sort – Reports support up to three levels of sorting, allowing rows to be sorted by as many as three columns. This field determines whether the current column participates in sorting and, if so, its priority. The available options are First in sorting order, Second in sorting order, and Third in sorting order.
- Position – The horizontal alignment of the text in this column. The available options are Left, Center, and Right.
- Font – The font and font size used to display the text in this column.
- Prefix – Allows you to specify text that will be added to the beginning of the contents of each cell in this column.
- Suffix – Similar to the Prefix setting, except that the specified text is added to the end of the contents of each cell in this column.
- Span across multiple lines? – Determines whether long text is truncated or wrapped onto multiple lines. When this option is set to Yes, the row height is automatically increased as needed to ensure that all text in the cell remains visible.
- Split to multiple rows? – By default, when a report field contains multiple resources, they are displayed in the same cell, separated by commas. For example, if an activity involves several groups, they will appear as: Group A, Group B, Group C. If this option is set to Yes, the row is split into multiple rows, with each row displaying only one of the resources. In the example above, the activity would be displayed as three separate rows, each containing a single group.
- Position – Determines the position of the column within the report, from left to right. For example, if this value is set to 2, the column will appear as the second column in the report.
All reports can be printed or exported (for example, to a CSV file) by selecting File → Print/Export from the main menu. The next chapter explains how this process works in detail.
The next chapter: Printing and Exporting.